Discover latest Indian Blogs

Wednesday 29 August 2018

Peacock Decor - from pencil shavings

Activity for kids

It's better to indulge in creativity than sitting idle or being glued to the various sizes of screens.

With this activity, let the kids experience the joys of creative fun. It involves the use of pencil shavings and glitter. Sharpening a pencil is something that every child loves and glitter too is no less attractive!

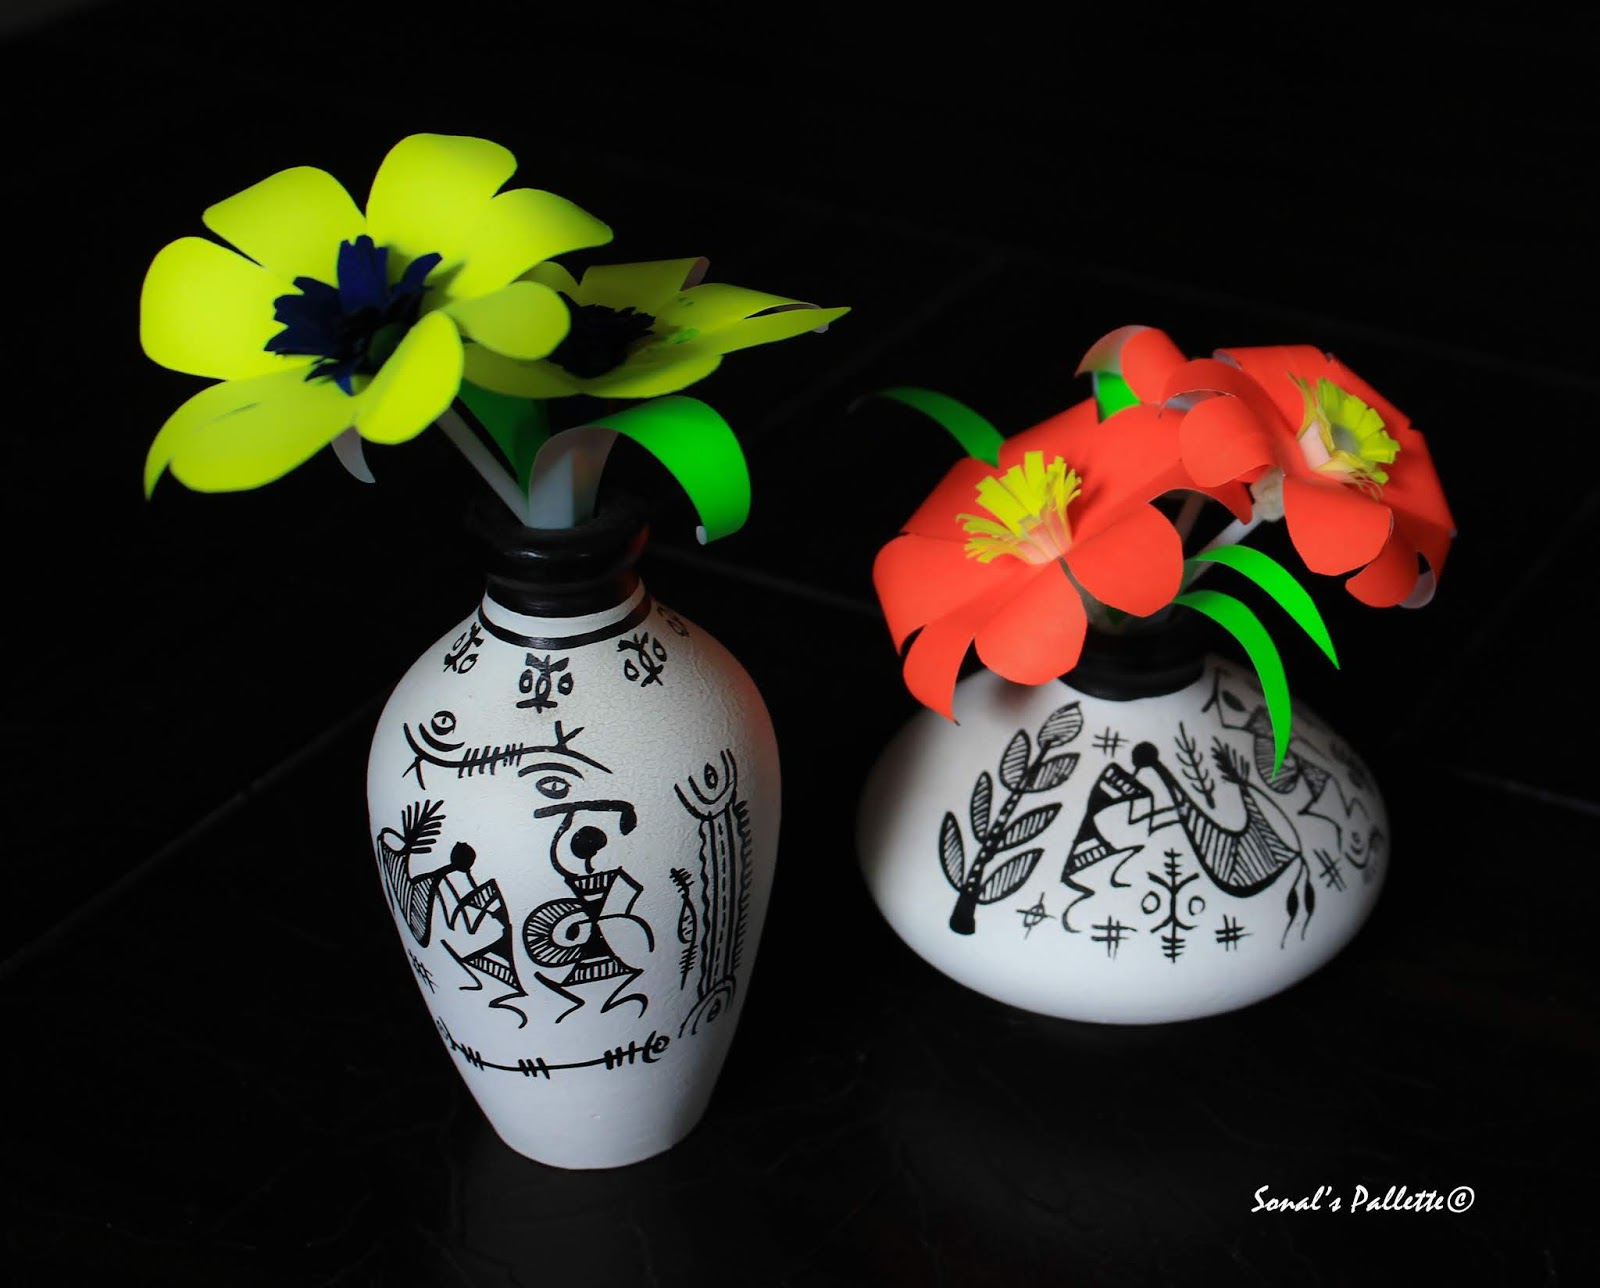
We can make flowers out of it, but here we will try to make a beautiful peacock.

Things required are -

1. Craft paper
2. Some pencil shavings
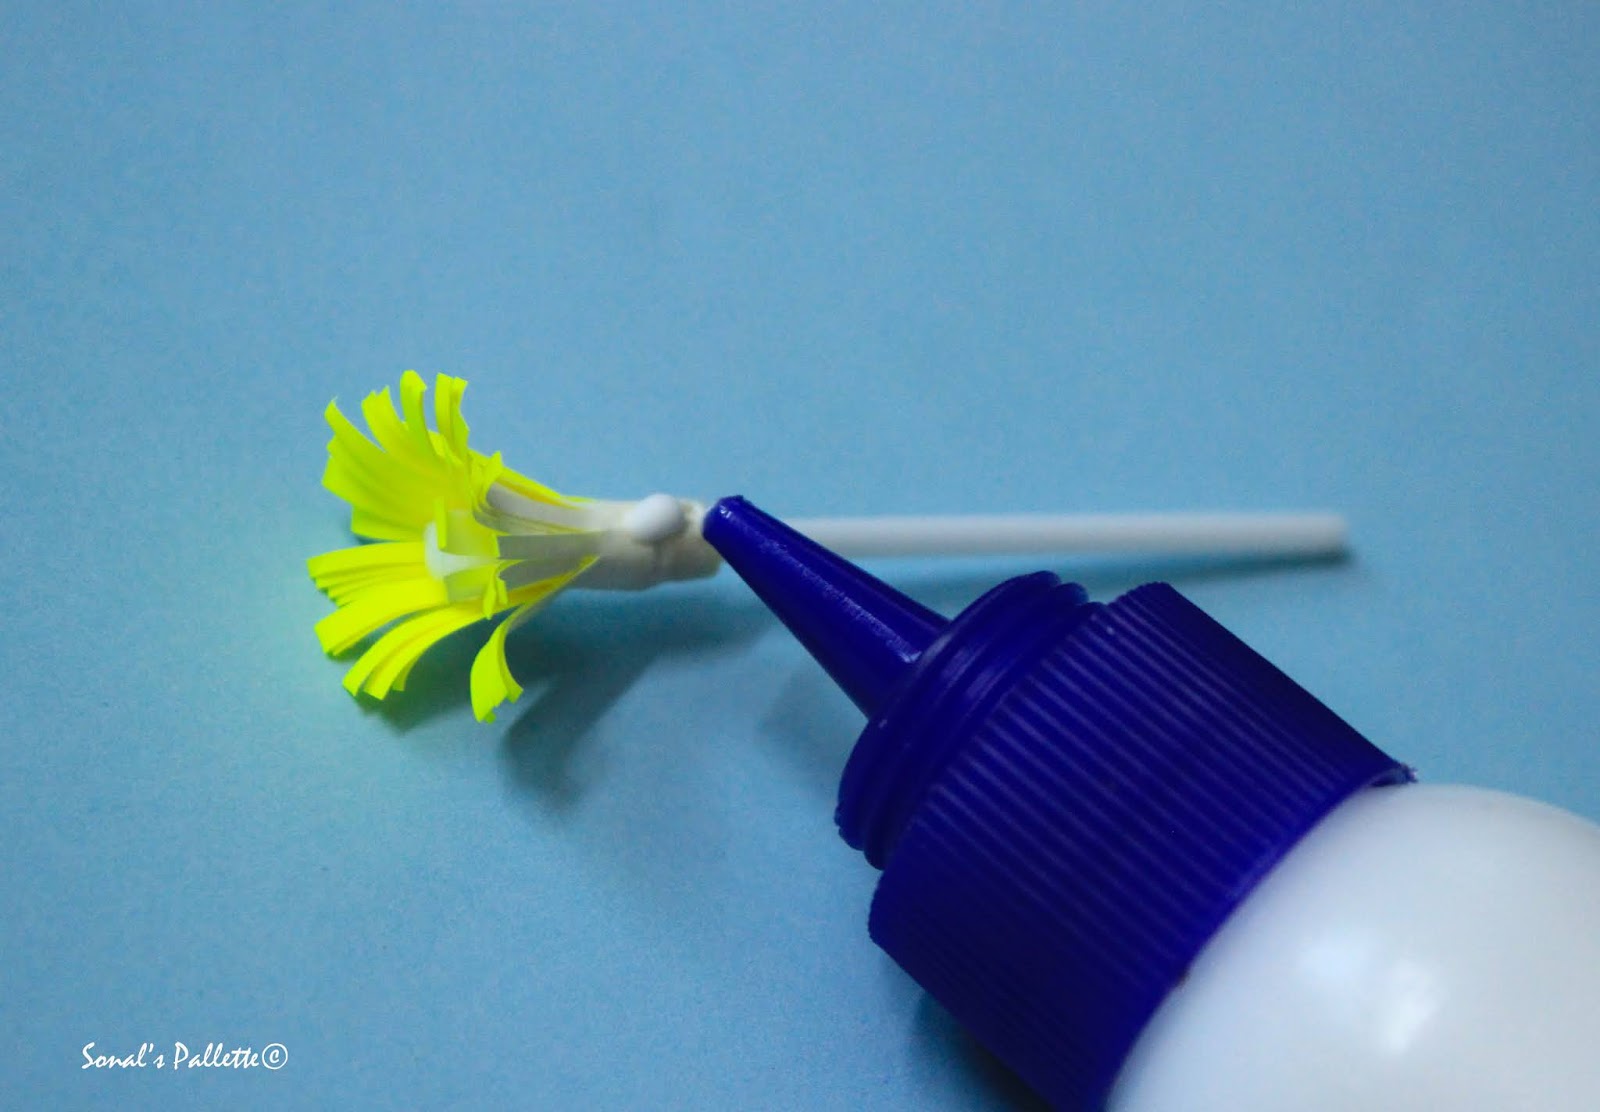
3. Glitter Glue
4. Glitter pens
5. Pencil
6. Regular Glue
 
 So, we need to gather some pencil shavings and keep them aside. Then take the craft paper and draw the outline of a Peacock leaving some margin on all sides, like this

I have taken a dark paper so I will highlight it with silver glitter pen
 Then stick the colourful pencil shavings on the sides. Be careful as they break easily.
 Paste them all together like this
Apply some blue glitter glue on the peacock
Add some red glitter glue on the crown
Use some golden and green glitter glue on the feathers, like this
Let it dry for sometime. Then use the glitter pen to highlight the outlines
Put it in a frame and decorate

Also see, pencil shaving flowers.

Wednesday 22 August 2018

Flower - Pencil Shavings

Things needed to make lovely flowers from pencil shavings -

1. Craft Paper
2. Pencil Shavings
3. Water colours
4. Paint Brush
5. Pencil
6. Glue

Let's start by making some stems and leaves for the base of the flower.
Paint it with water colour
Wow it's looking good,
Now, we can paste the colourful pencil shavings to make the flower petals, like this
Make the rest of the flowers by pasting the pencil shavings
Isn't this looking lovely! So let your little ones enjoy this simple yet creative activity.

Wednesday 15 August 2018

Mini Paper Flower


 "It's my teacher's birthday tomorrow! I want to give her something!", chattered away my 6 year old. Now, let's see, what about a bright flower to make her day even brighter? Nothing better than a hand made gift.

Let's get the checklist

1. Some colourful craft paper
2. A few earbuds
3. Pencil
4. A pair of scissors
5. Glue

Alright! So, first cut one of the tips of the earbud to make the stem, like this
Now let's take the craft paper and fold it in half
Fold it in half again to make a smaller square and cut
Cut a one inch wide strip from a contrasting craft paper, like this
We will use these to make the flower
Let's take the one inch strip first, and draw a line roughly through it as a margin
And then make small cuts on the broader side of the line, like this
Keep it aside. Now take the small square paper and fold it in half twice as shown. Fold it again to form a triangle shape
Draw a small curve and cut the shape. Make sure that the folds remain intact.
Cut the tip slightly and open the folds to see the result.
Curve the edges using the scissors or roll it with the pencil to get this look
Add some glue on the uncut end of the strip and roll it on the earbud like this to form a small flower.
Apply some glue at the base and insert this in the flower cut out we made earlier.

Paste it in place firmly and your beautiful flower is ready!

Wednesday 8 August 2018

Paper Boat

Bored of making the same paper boats? Let's try something new, interesting and simple!

To make this paper boat, you will need -
1. Craft paper (different colours)
2. A pencil
3. A pair of scissors
4. Glue
5. Ruler
6. A few wooden stirrer sticks or wicks
7. Some stickers for decoration


(The measurement is for proportional reference only. Larger scale is used for ease of handling.)
First take a sheet of craft paper. Fold it in half. Choose the length of the boat. For example here it's 21cm. Mark the center point (C).
From the center mark another point, say at 3cm across in width (A).
Join point A with the end points of the length, as shown in the picture.
Then mark another point (B) 3cm away from point A. Draw parallel lines and draw the tips of the boat as well, leaving a gap of 3cm.

Cut the outline
Cut from point B to A and fold the sides as shown below

Fold all the four sides and you will see the shape of a boat. Now it's time to stick the edges to form the boat. So let's apply some glue on the ends and the middle (A & B points) and join the edges together.
Here's how it should look
Use the funky stickers to complete your boat.
To make the oars, cut four small pieces from the left over craft paper and stick them on the stirrer stick like this
The oar is ready too!
Time to play!
 Use different styles, colours and sizes and make yours today! Enjoy!